
RV Cushion Replacement - 16' Scamp Trailer layout 4
Updating our trailer’s cushions was a game changer—not just for our comfort, but also as a fun little renovation project. In this post, I share our journey from uncomfortable, pancake-thin cushions to a custom foam sandwich solution that makes our trailer a cozy retreat for the whole family.
Pancake Thin Outdated Cushions

We bought a 2020 16' Scamp trailer (Layout 4) with big dreams of transforming it into a tiny camper oasis. One of the first issues? The original cushions were so thin and flat, they made sleeping (with two small kids!) nearly impossible. I knew I had to upgrade them before we hit the road.
The Sandwich Solution
While exploring options, I knew I didn’t want to allocate any of the valuable storage space to a memory foam topper and I wanted all sleeping areas to be comfortable, not just the big bed. I needed something I could do once and never think about changing again. I came across a post on the Fiberglass RV Forum where a fellow Scamp owner shared their “foam sandwich” method.
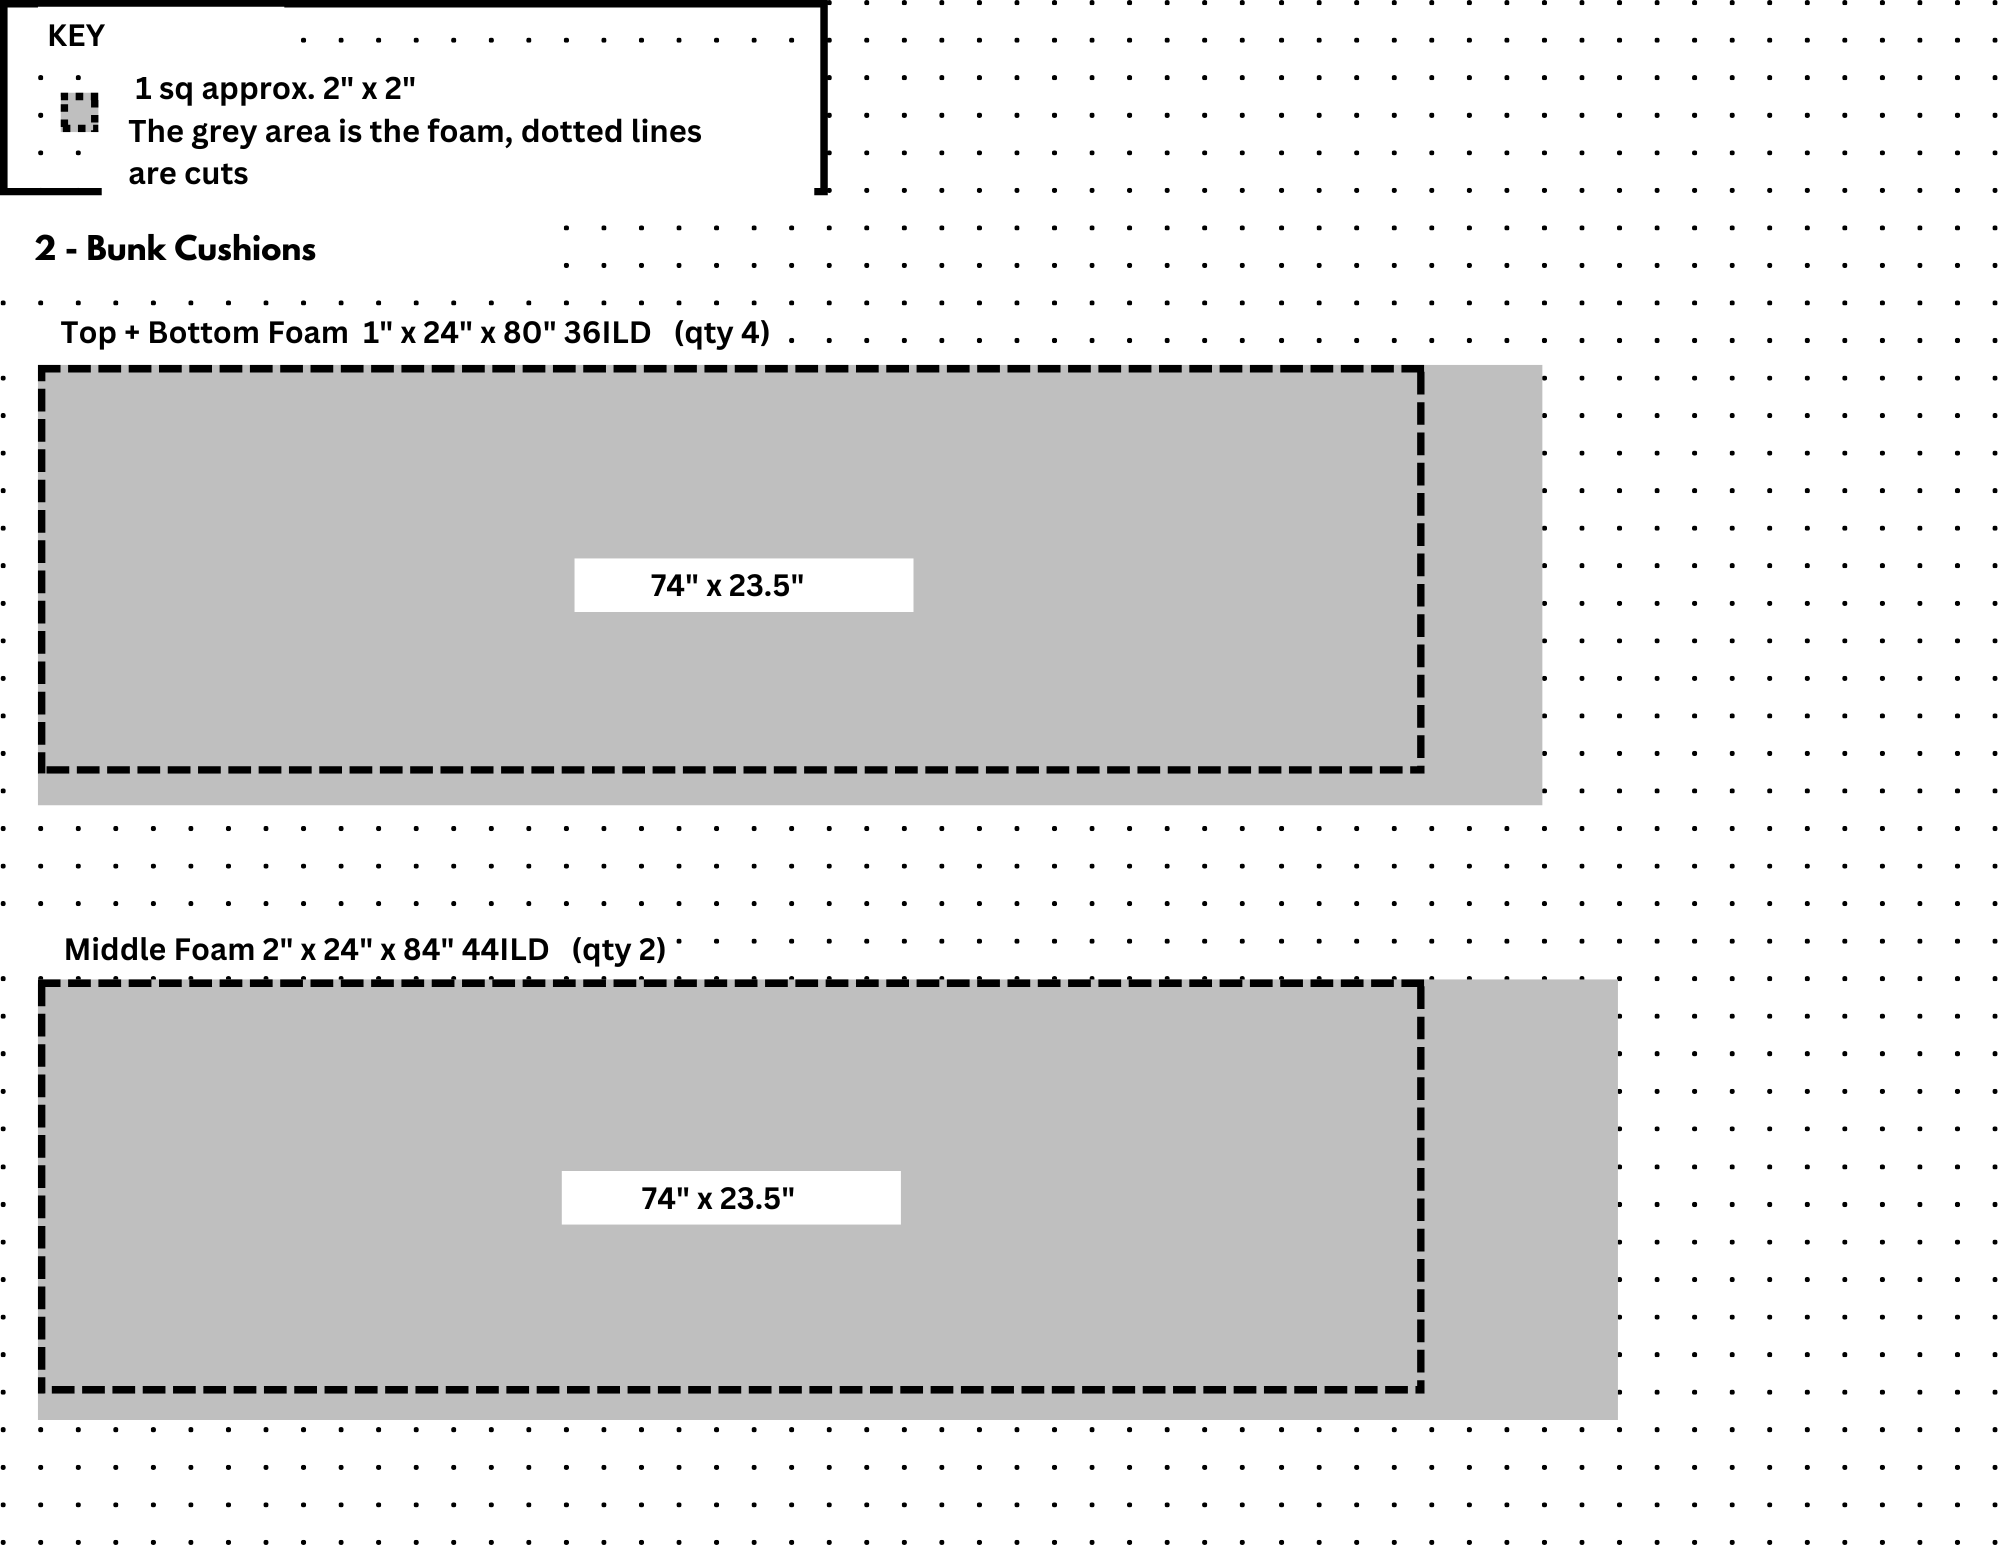
This approach combines different foam densities to create a comfortable yet supportive cushion:
1-inch medium-high density foam (N36): Provides a softer, sleeping-friendly surface.
2-inch higher density foam (N44): Adds a firmer base suitable for sitting.
Another 1-inch medium-high density foam layer (N36): Completes the sandwich for balanced comfort.
This method seemed promising, so I decided to give it a try. Thanks RDickens for the suggestion!
Exploring Upholstery Options
Initially, I sought quotes from professional upholstery shops. The quotes I received ranged from $1,700 to $4,000—a price range that was a bit beyond what I wanted to spend. I thought about tackling the sewing myself using various online tutorials. However, after careful consideration and an honest evaluation of my (lack of) sewing skills, I decided to hire a seamstress.
Step-by-Step
Finding a seamstress: I was incredibly fortunate to find the perfect local seamstress on Thumbtack—Luci, an IATSE Local 44 property seamstress. Her work is featured on Instagram @lucisprojects), and I was blown away by the quality of her work. She was in high demand and super busy, so I consider myself lucky she had the time for our project.
Full disclosure: The project took her longer than initially anticipated, and with market conditions shifting, I wouldn’t be surprised if her prices adjust down the line in the future.
Alternative DIY Route: Sourcing Guidance and Tutorials
For those who want to sew the cushions themselves, I found some helpful material when I was debating that option and wanted to share here:
Scamp Owners' Community: The Scamp Owners' forum offers a comprehensive step-by-step guide on cushion upholstery for those of you wanting to do it yourself. Scamp Owners
YouTube Tutorials: If you’re sewing the cushions yourself, there are numerous tutorials available. One helpful video demonstrates sewing cushion covers in a camper in six easy steps. YouTube
3. Estimating Materials
Upholstery Fabric: For a 16' Scamp Layout 4, I purchased approximately 16 yards of upholstery fabric to ensure ample coverage.
Foam Measurement: To determine the exact amount of foam required, I created a cut template in Canva. Despite meticulous planning in my own template, I found it necessary to purchase an additional panel of firm 2" foam to complete the project.
4. Purchasing Foam
Here’s the foam I purchased for our 9 cushions needed for our scamp Layout 4, I bought them from a store on Amazon called goToFoam:
1" Thick, 36ILD (Semi-Firm), 24" W x 80" L – 4 pieces (for bunks)
2" Thick, 44ILD (Firm), 24" W x 84" L – 3 pieces (for bunks)
2" Thick, 44ILD (Firm), 24" W x 96" L – 2 pieces (for dinette seats)
1" Thick, 36ILD (Semi-Firm), 24" W x 72" L – 5 pieces (for dinette seats, back sections, and skinny sofa section)
1" Thick, 36ILD (Semi-Firm), 30" W x 72" L – 1 piece (for dinette back sections, cut into four pieces)

5. Choosing Fabric
I purchased 16 yards of beautiful upholstery fabric for a little under $200 dollars. This material would serve as the cushion covers, adding a durable and aesthetically pleasing finish to the cushions. If you’re in the LA area, I went to a store in the fashion district called Luxury Fabrics, it’s an incredible store and I highly recommend checking it out if you’re looking for good fabric. ig:@luxuryfabrics
6. Luci took over from here:
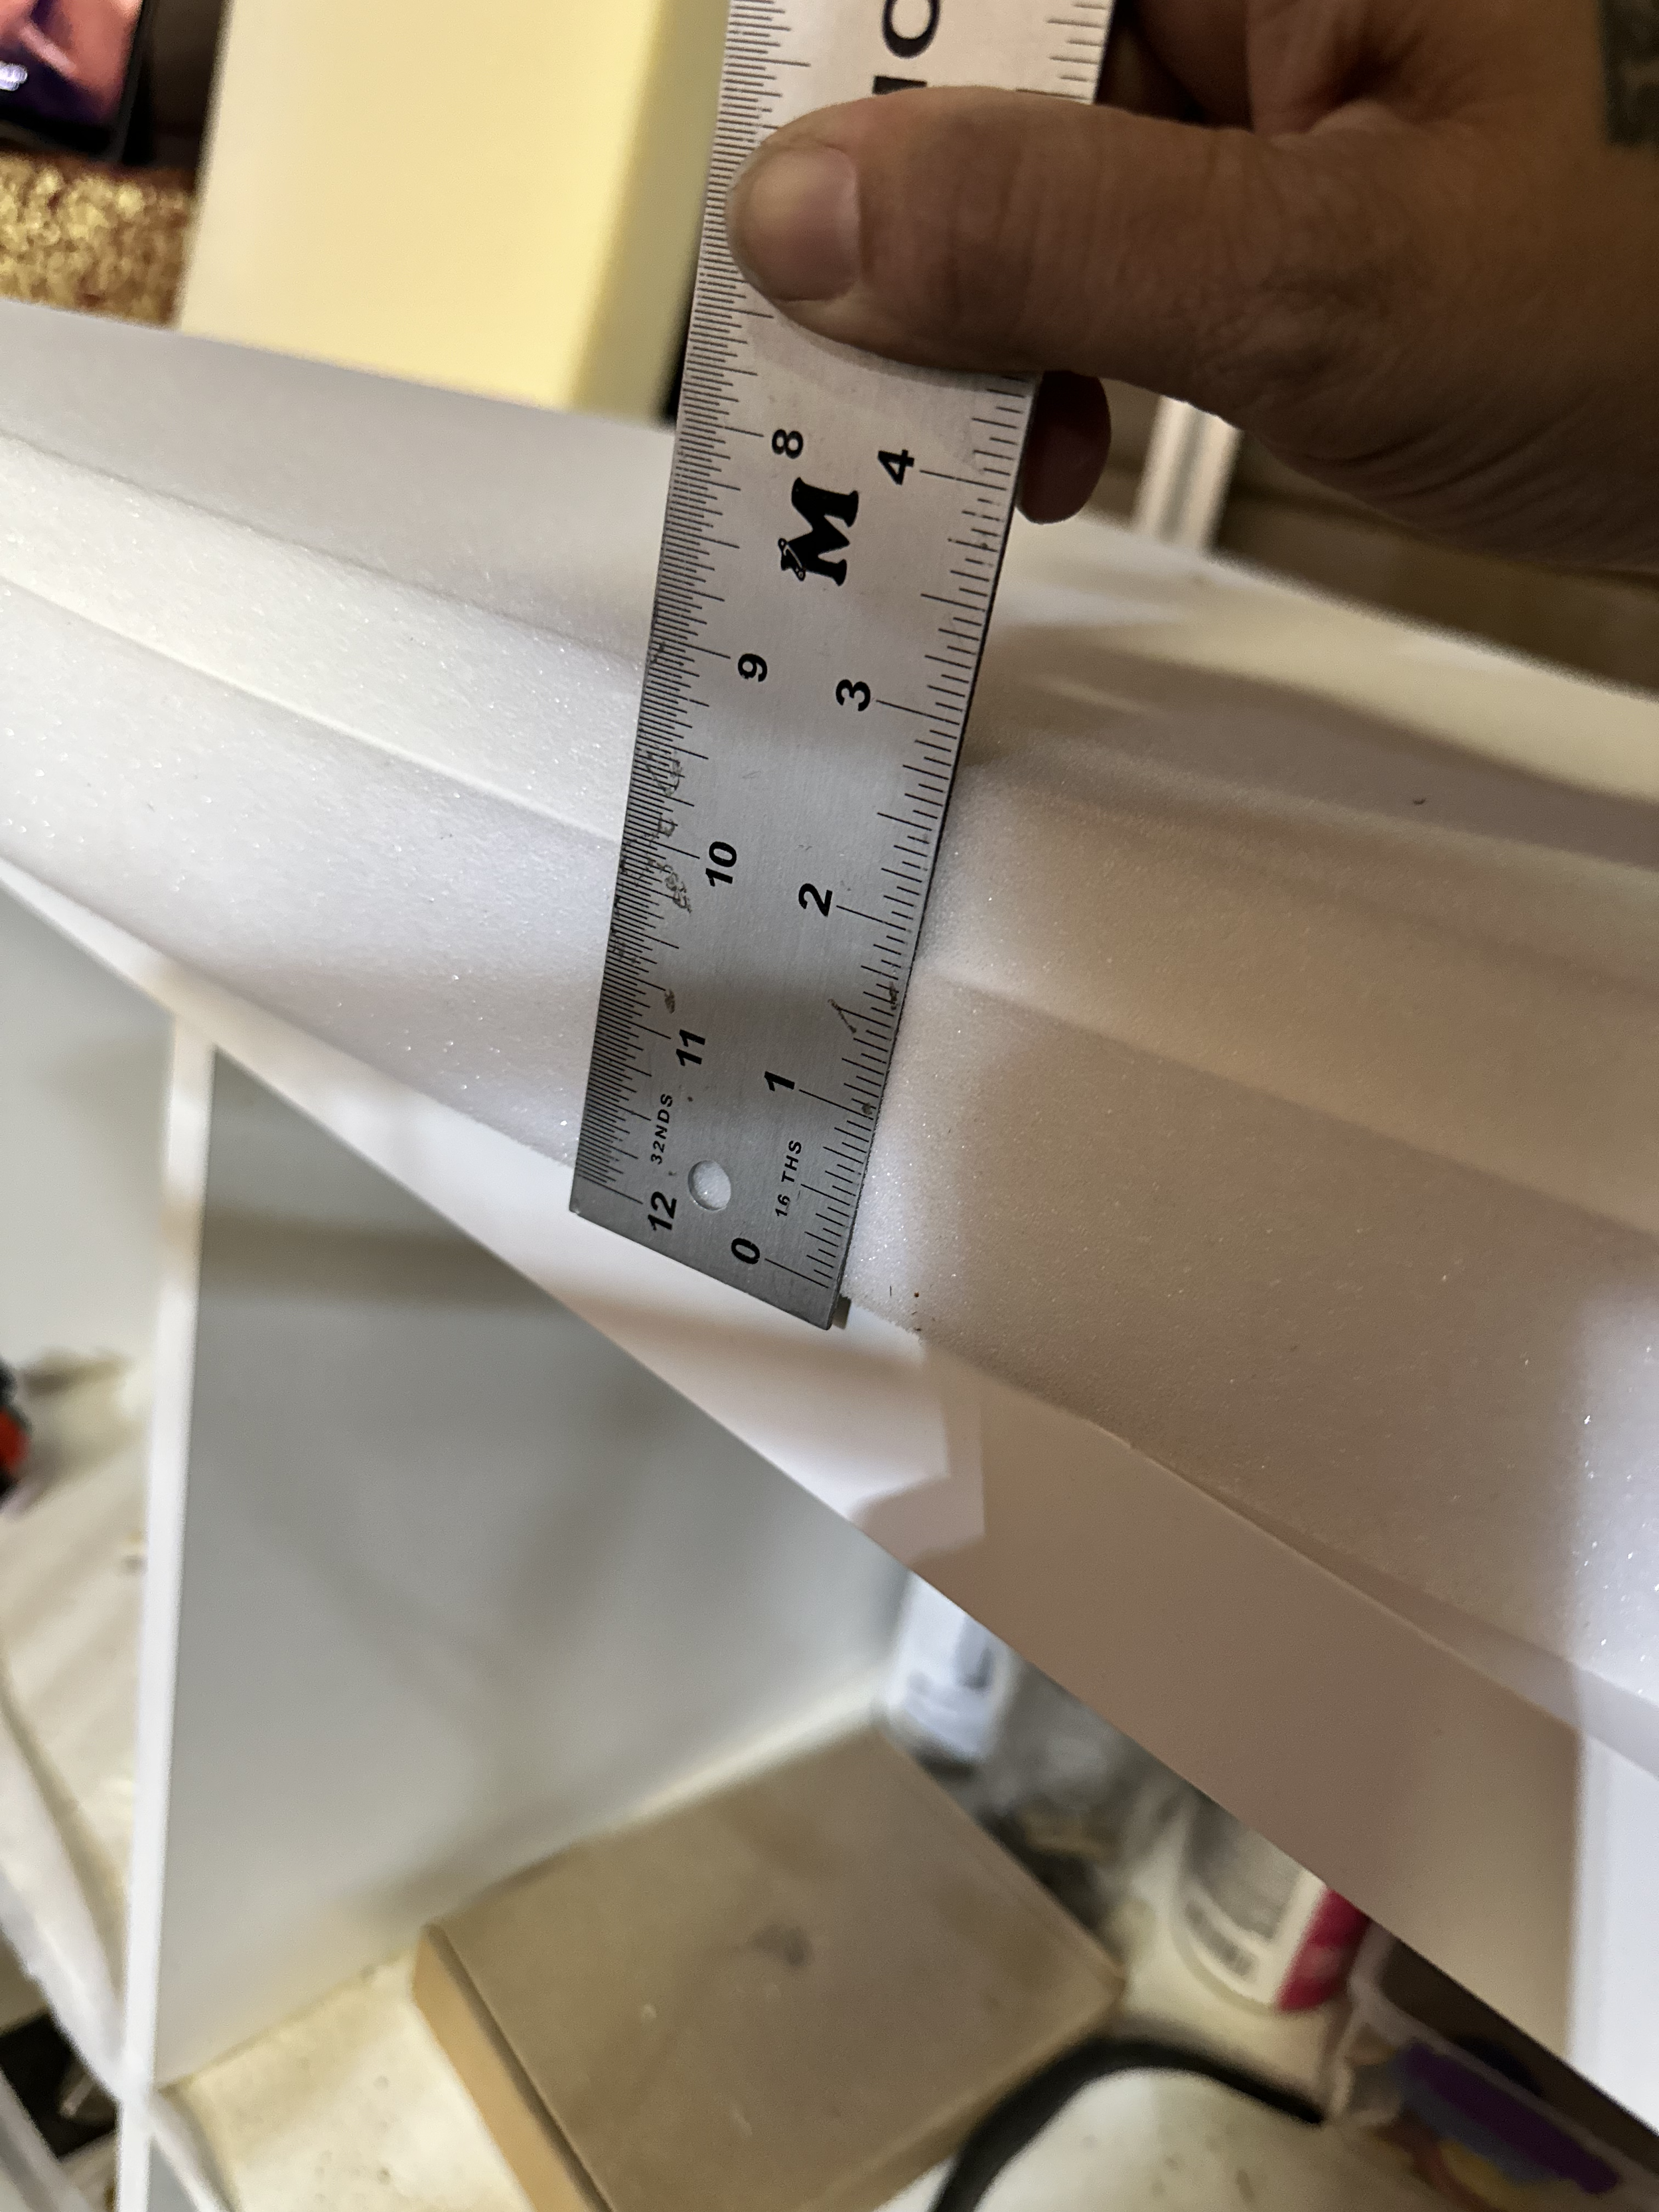
She cut the foam layers to size.
Used a foam adhesive spray to bond the layers into a perfect sandwich.
Sewed the cushion covers with piping and zippers for easy removal and cleaning.
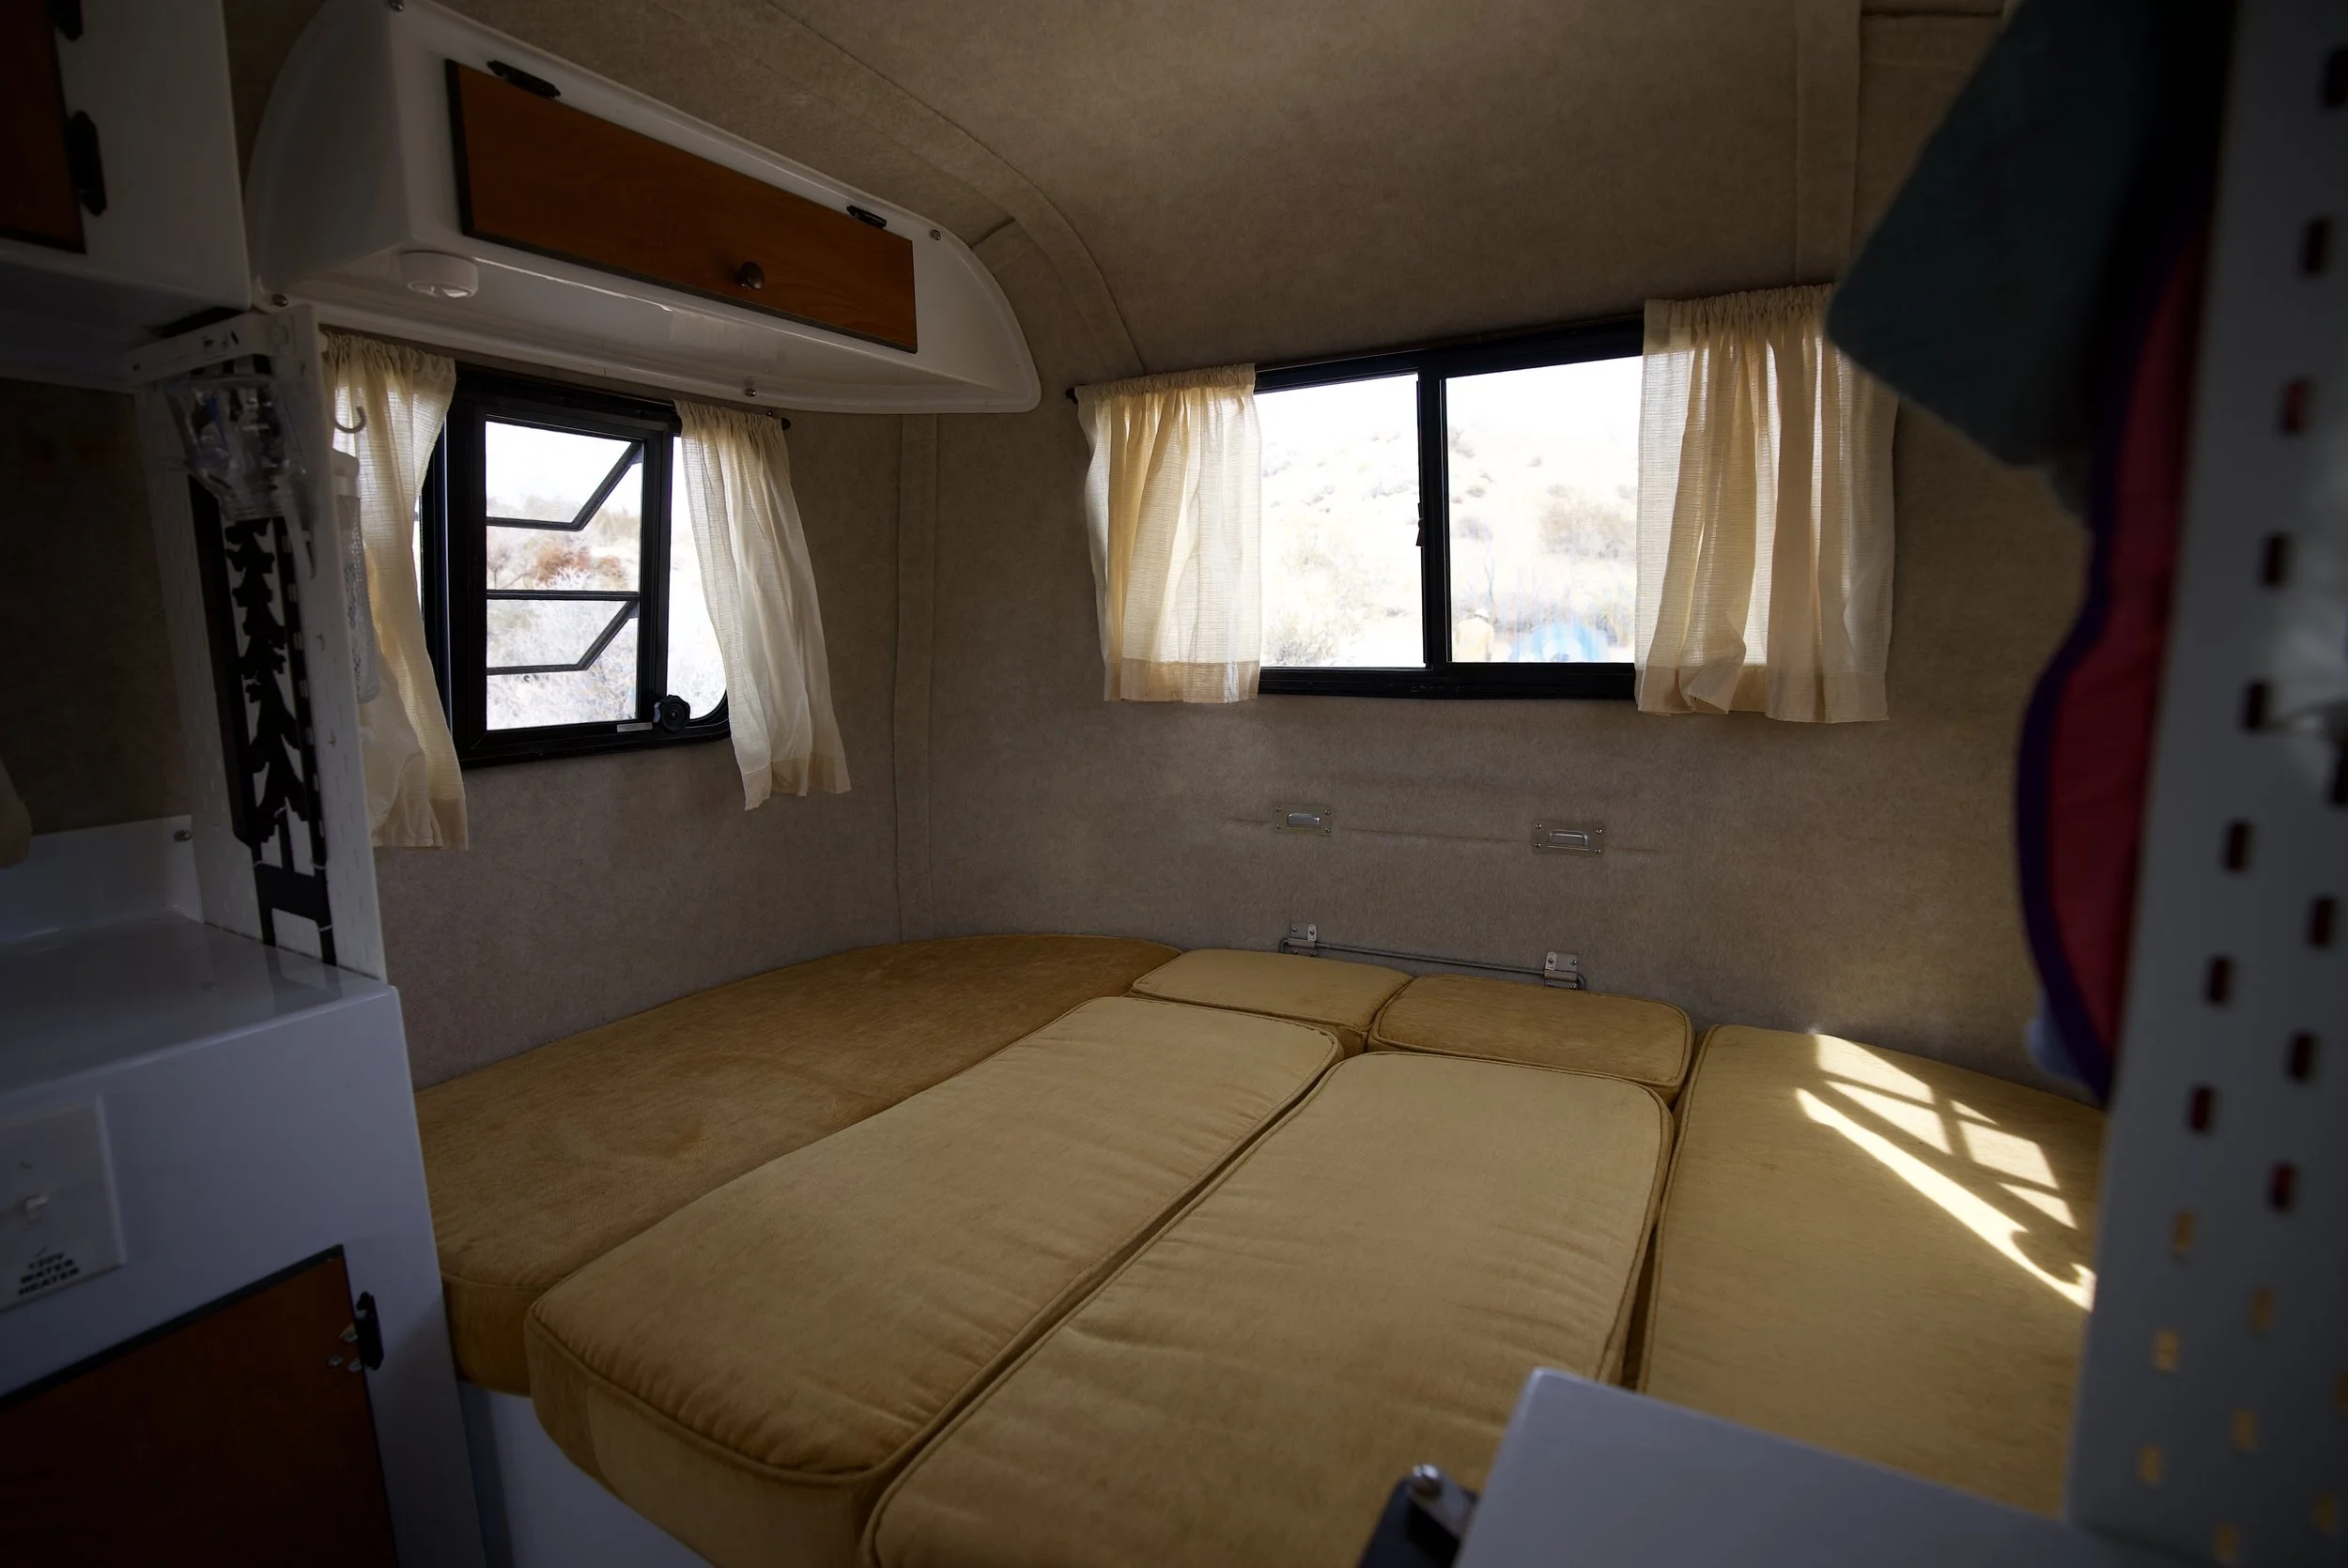
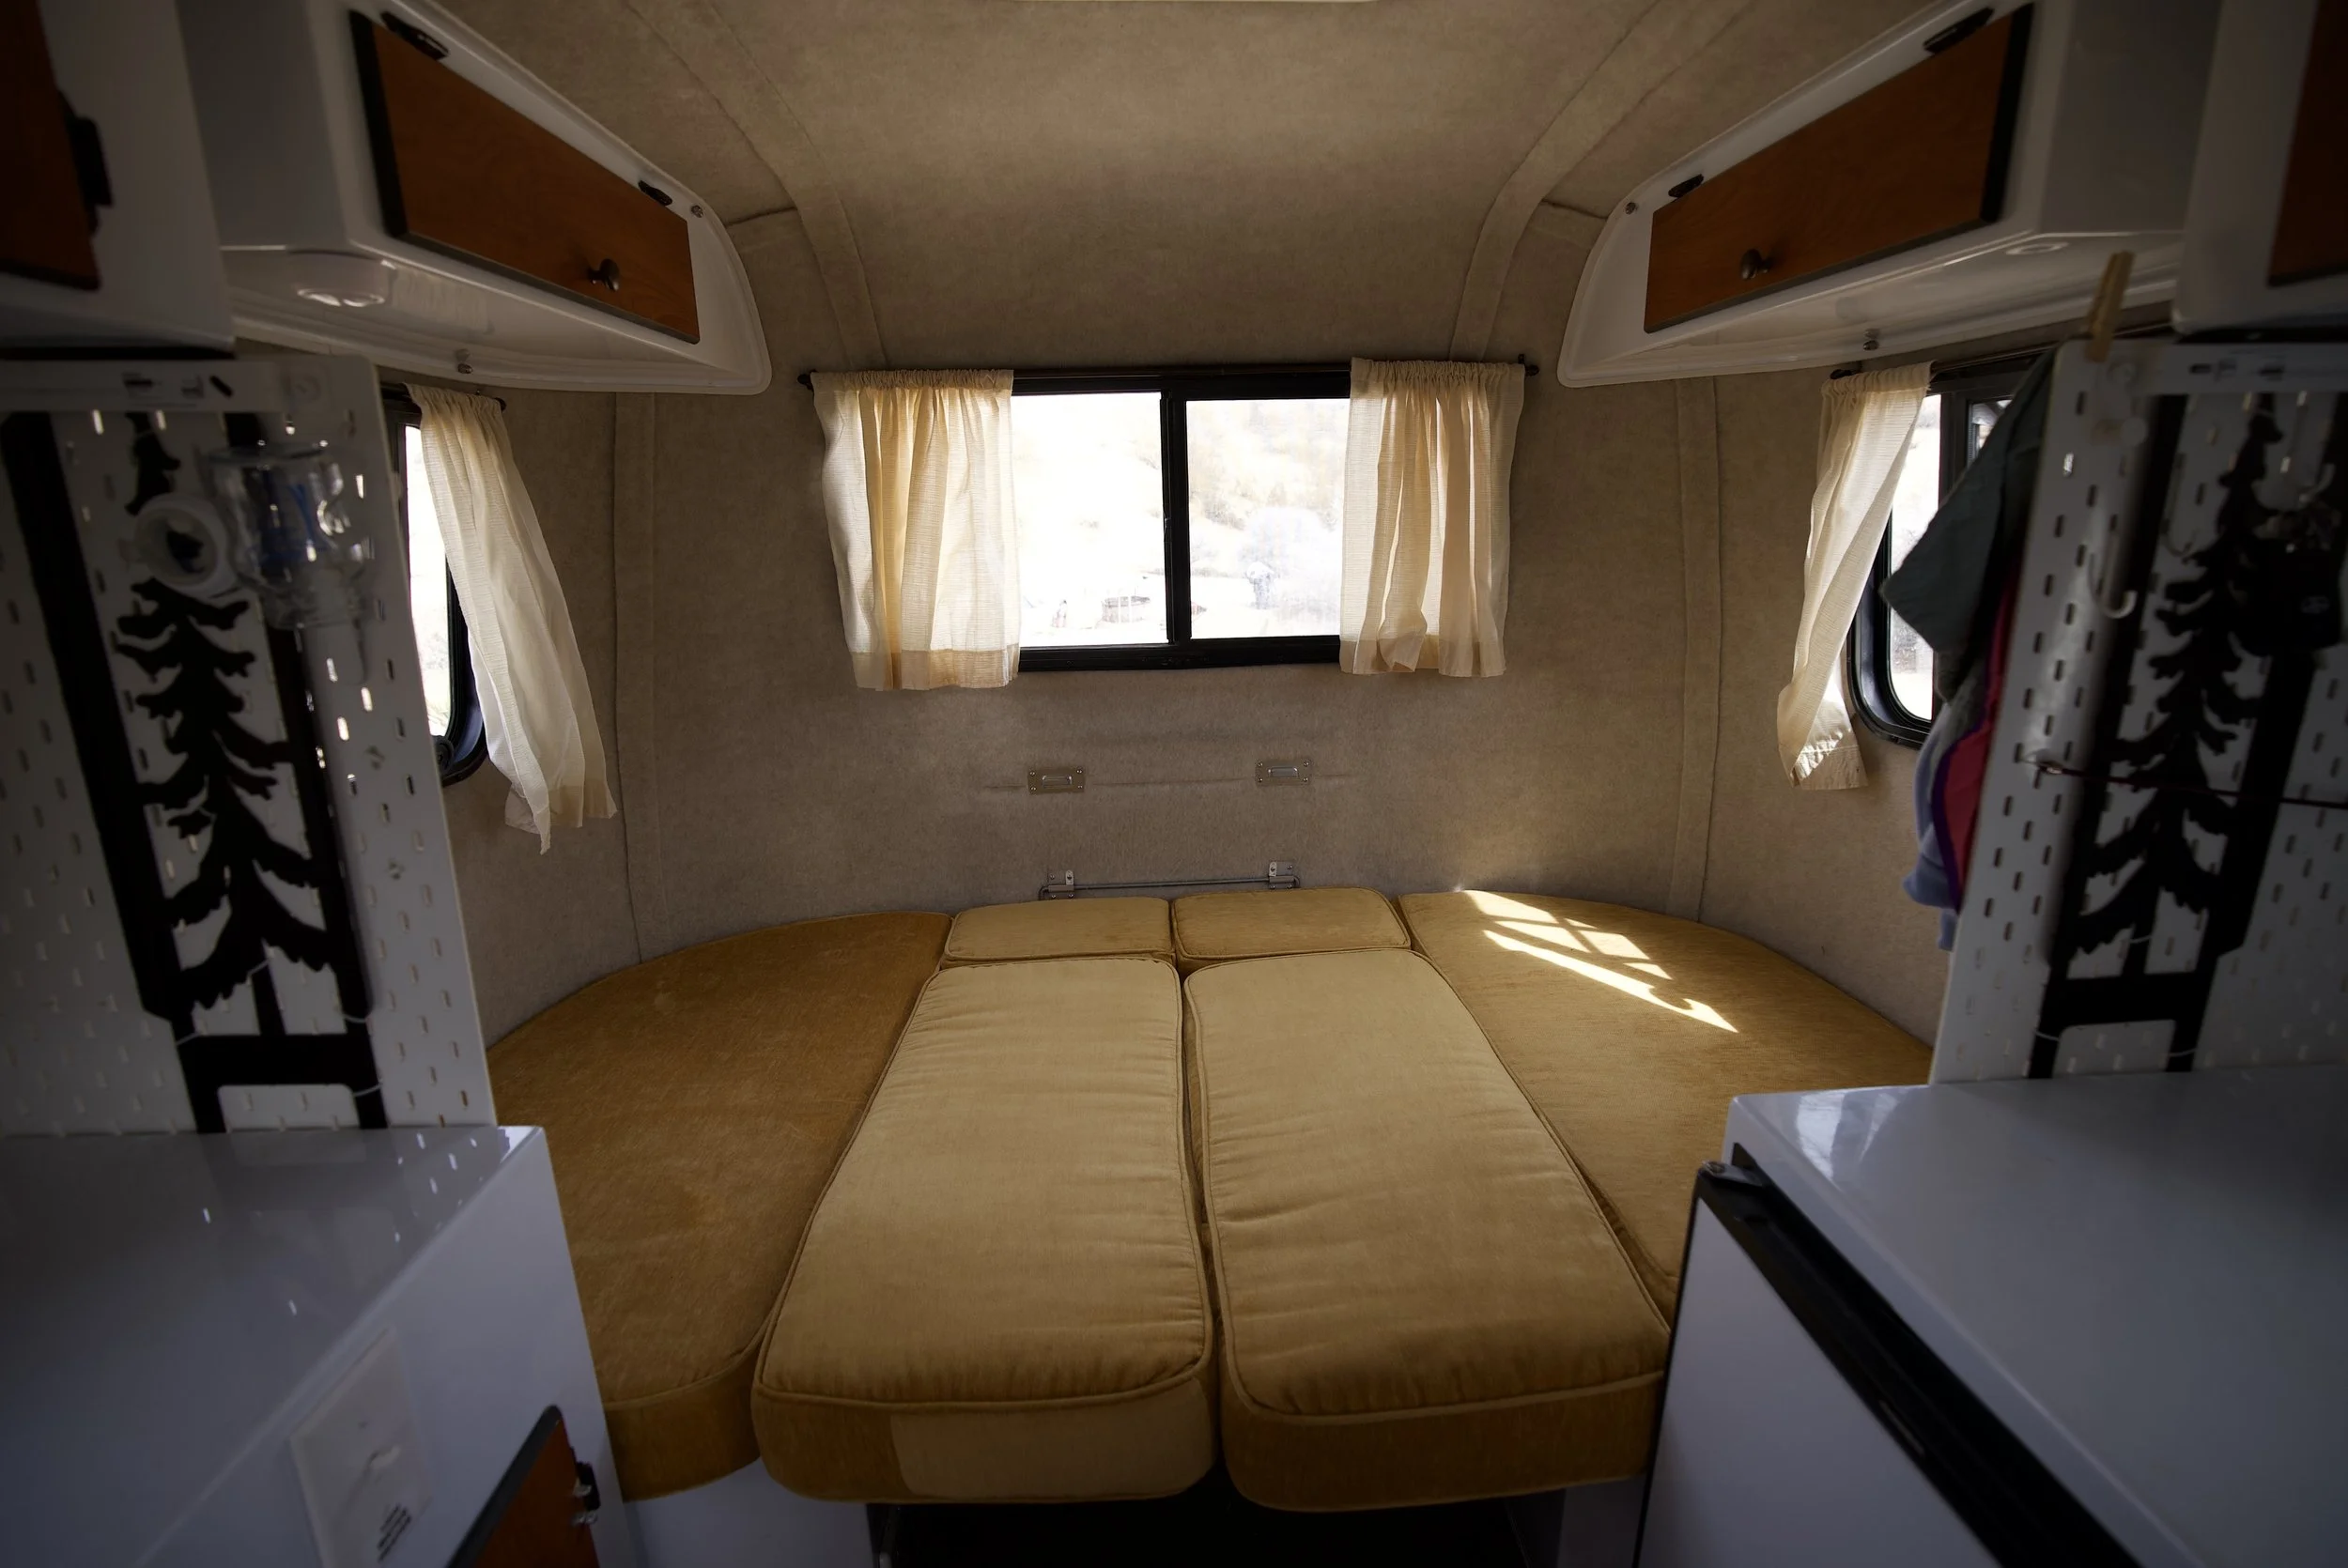
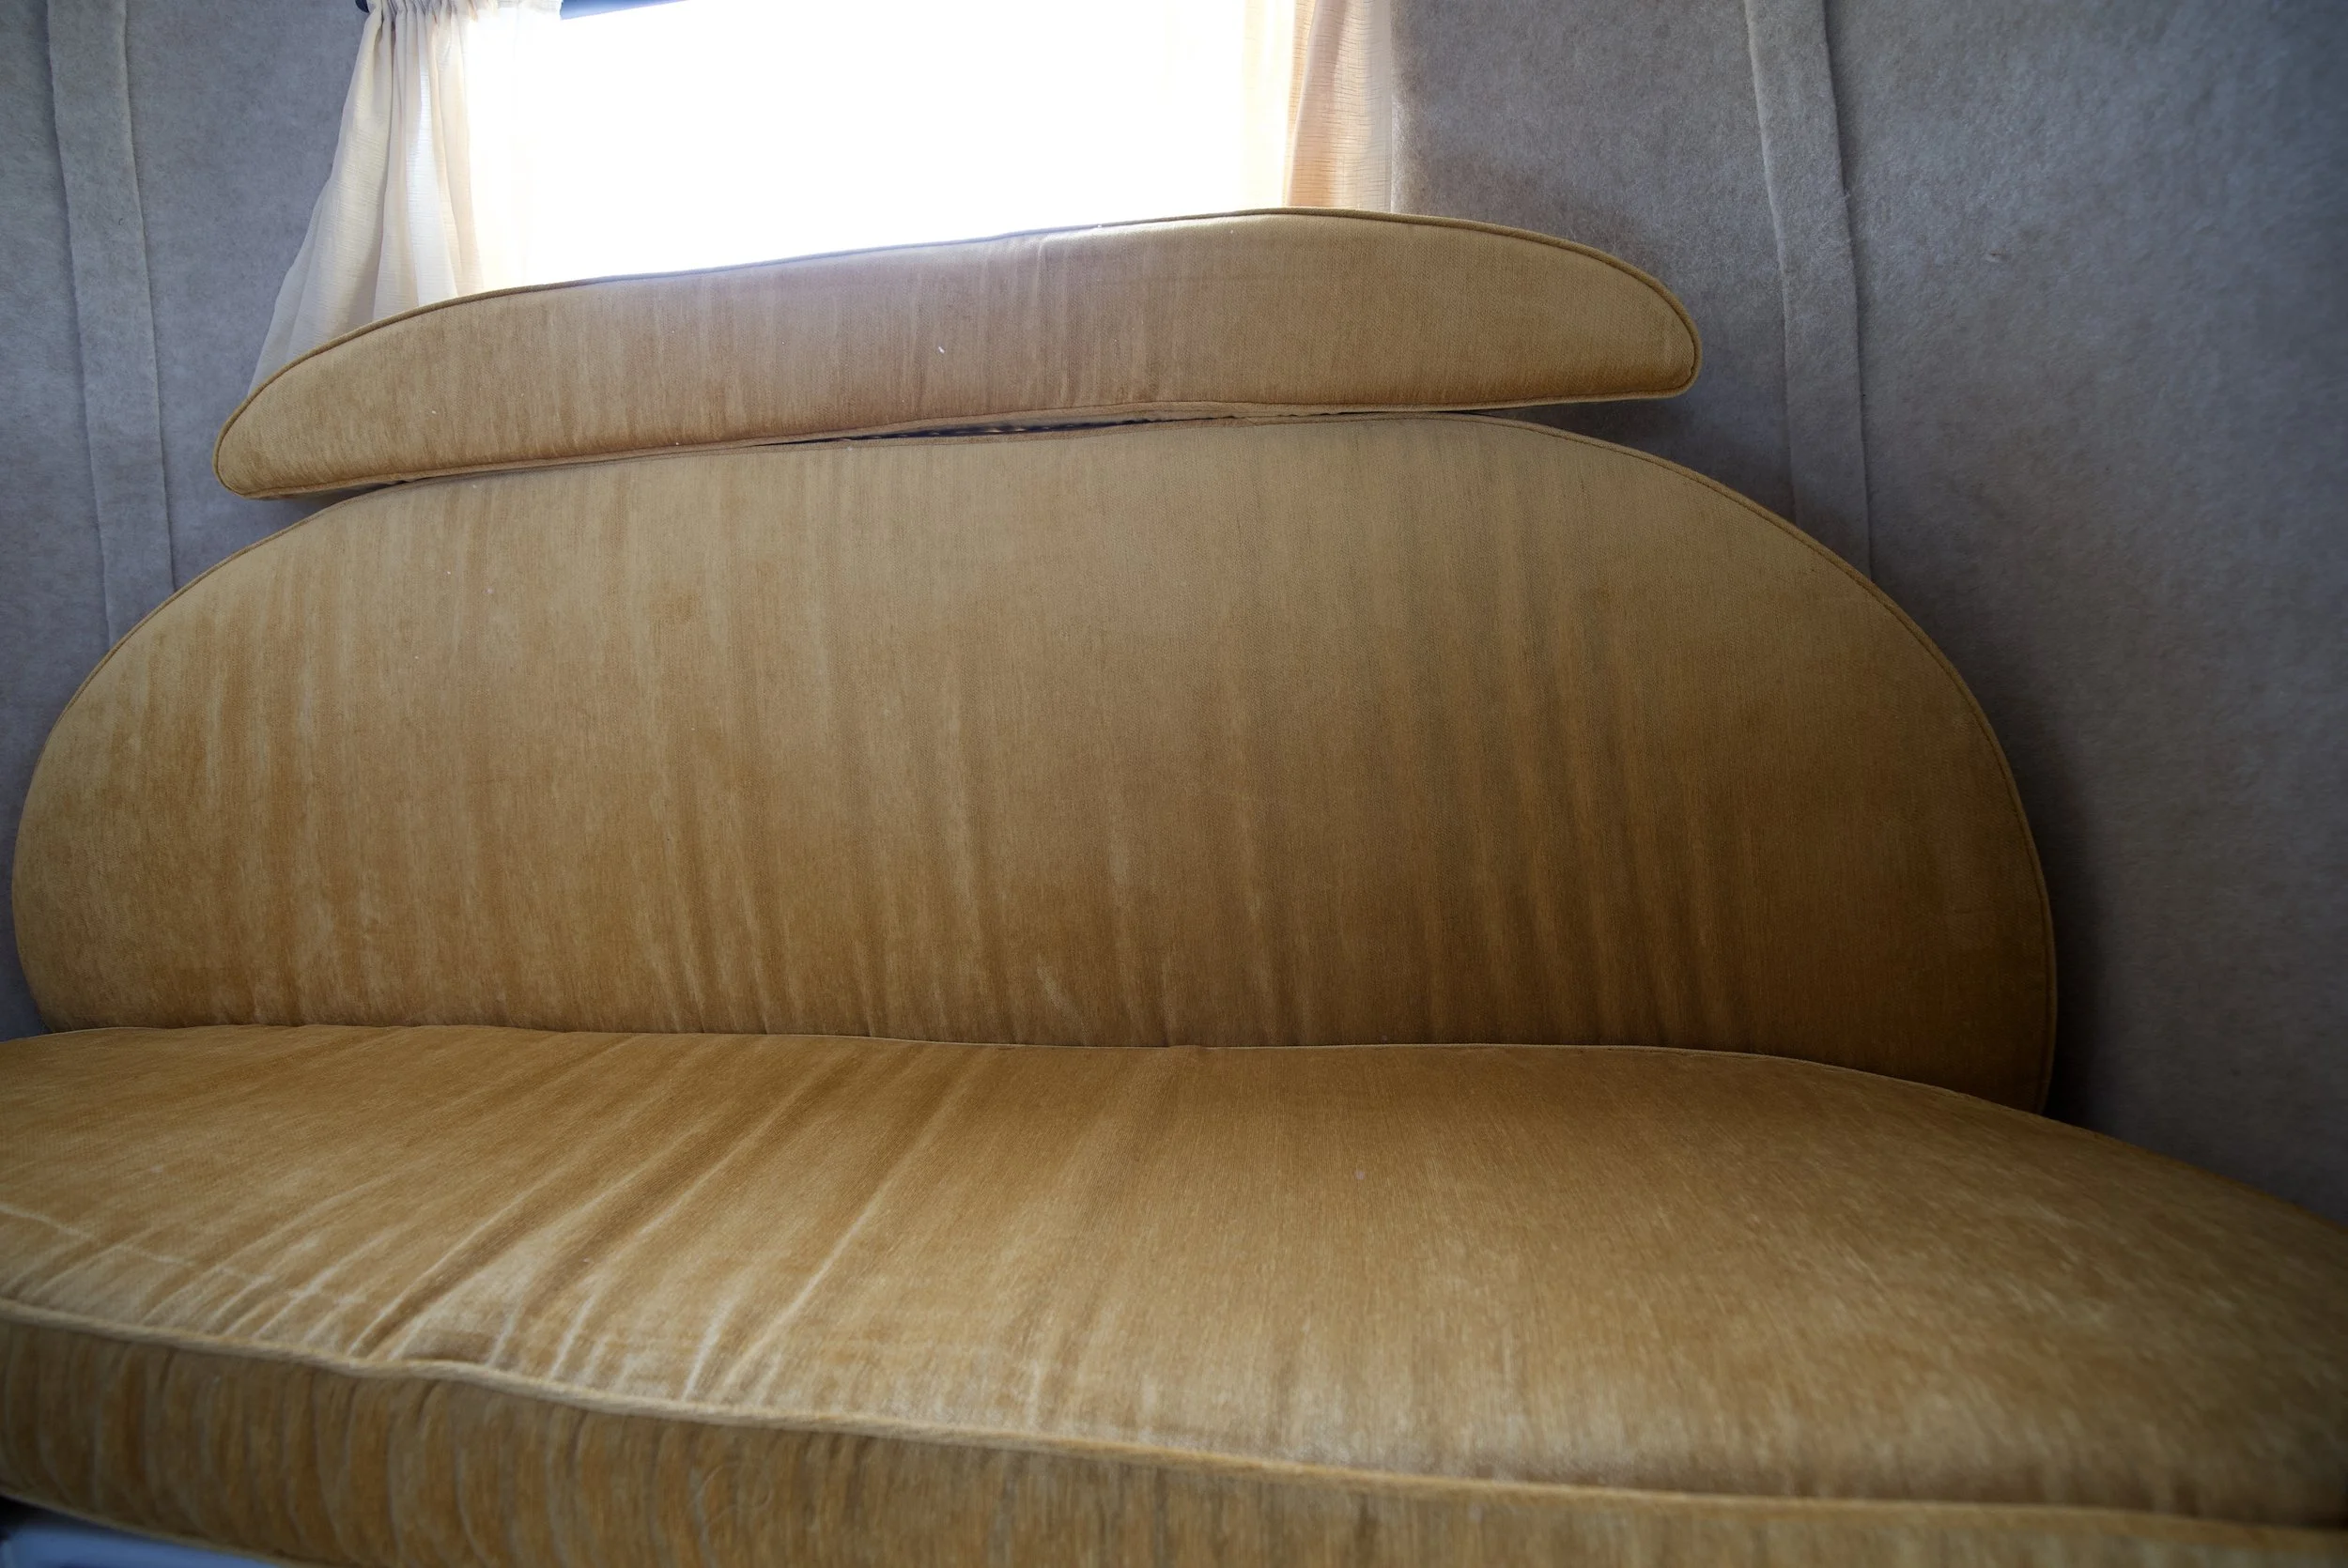
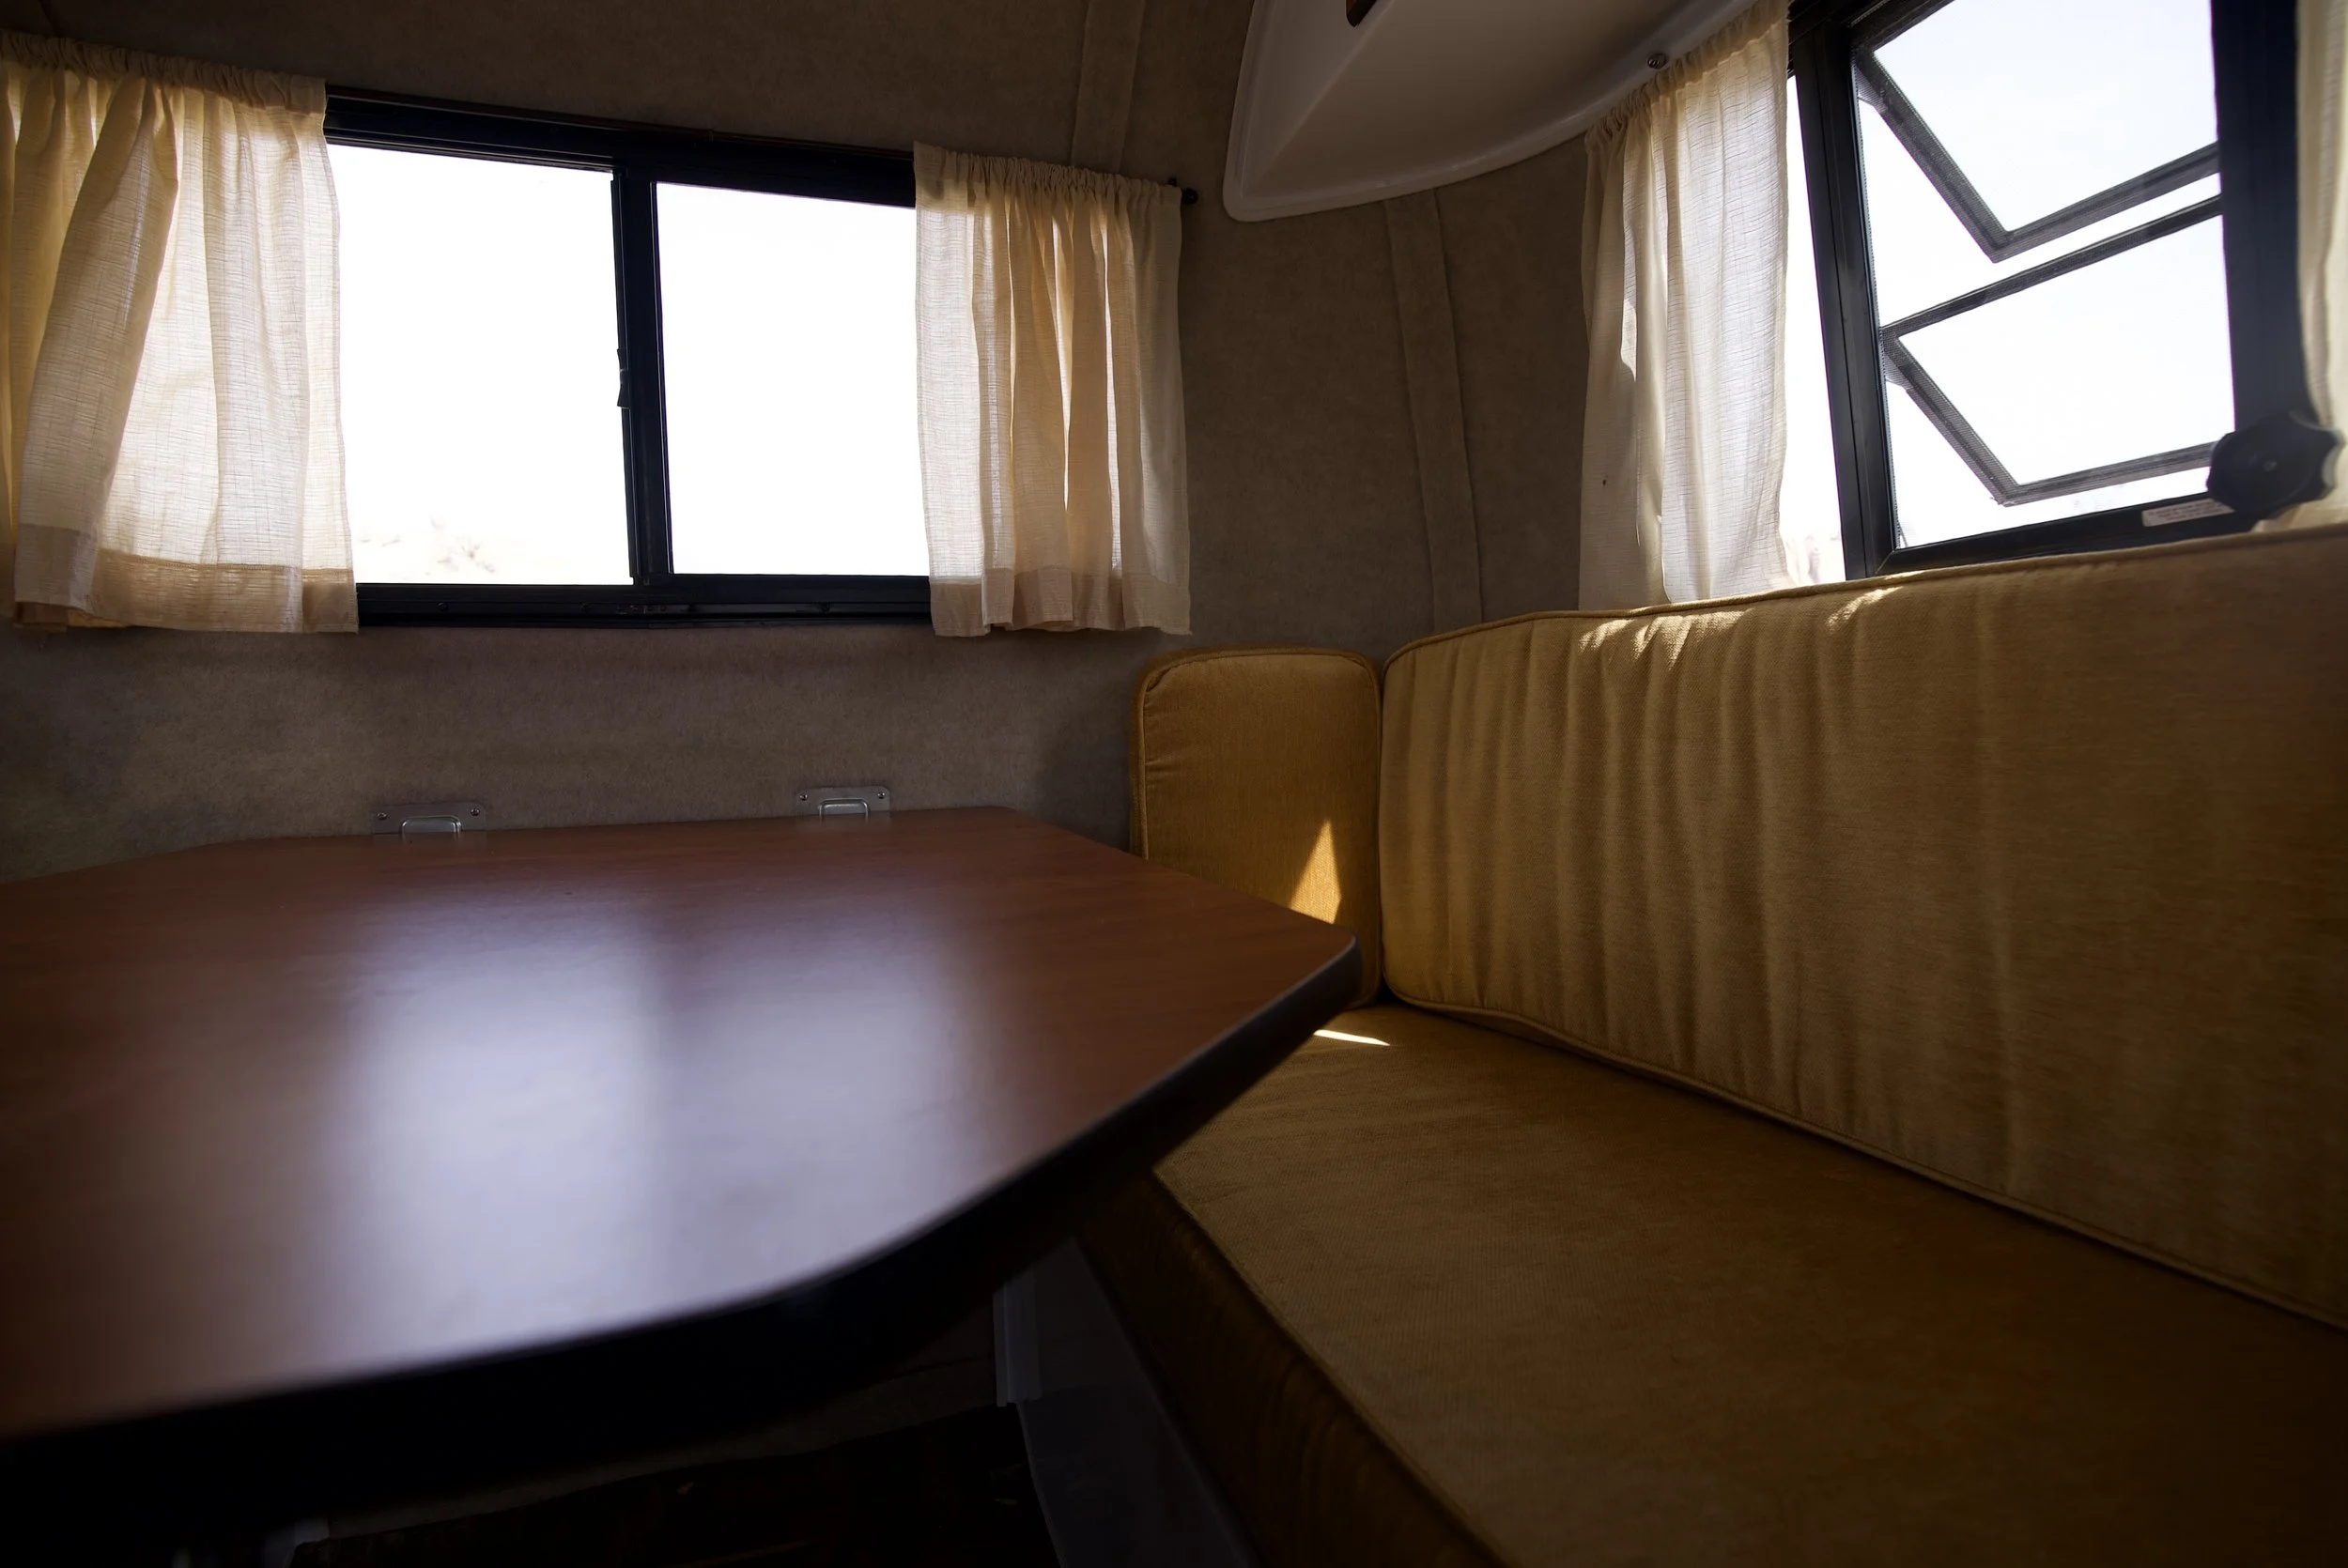
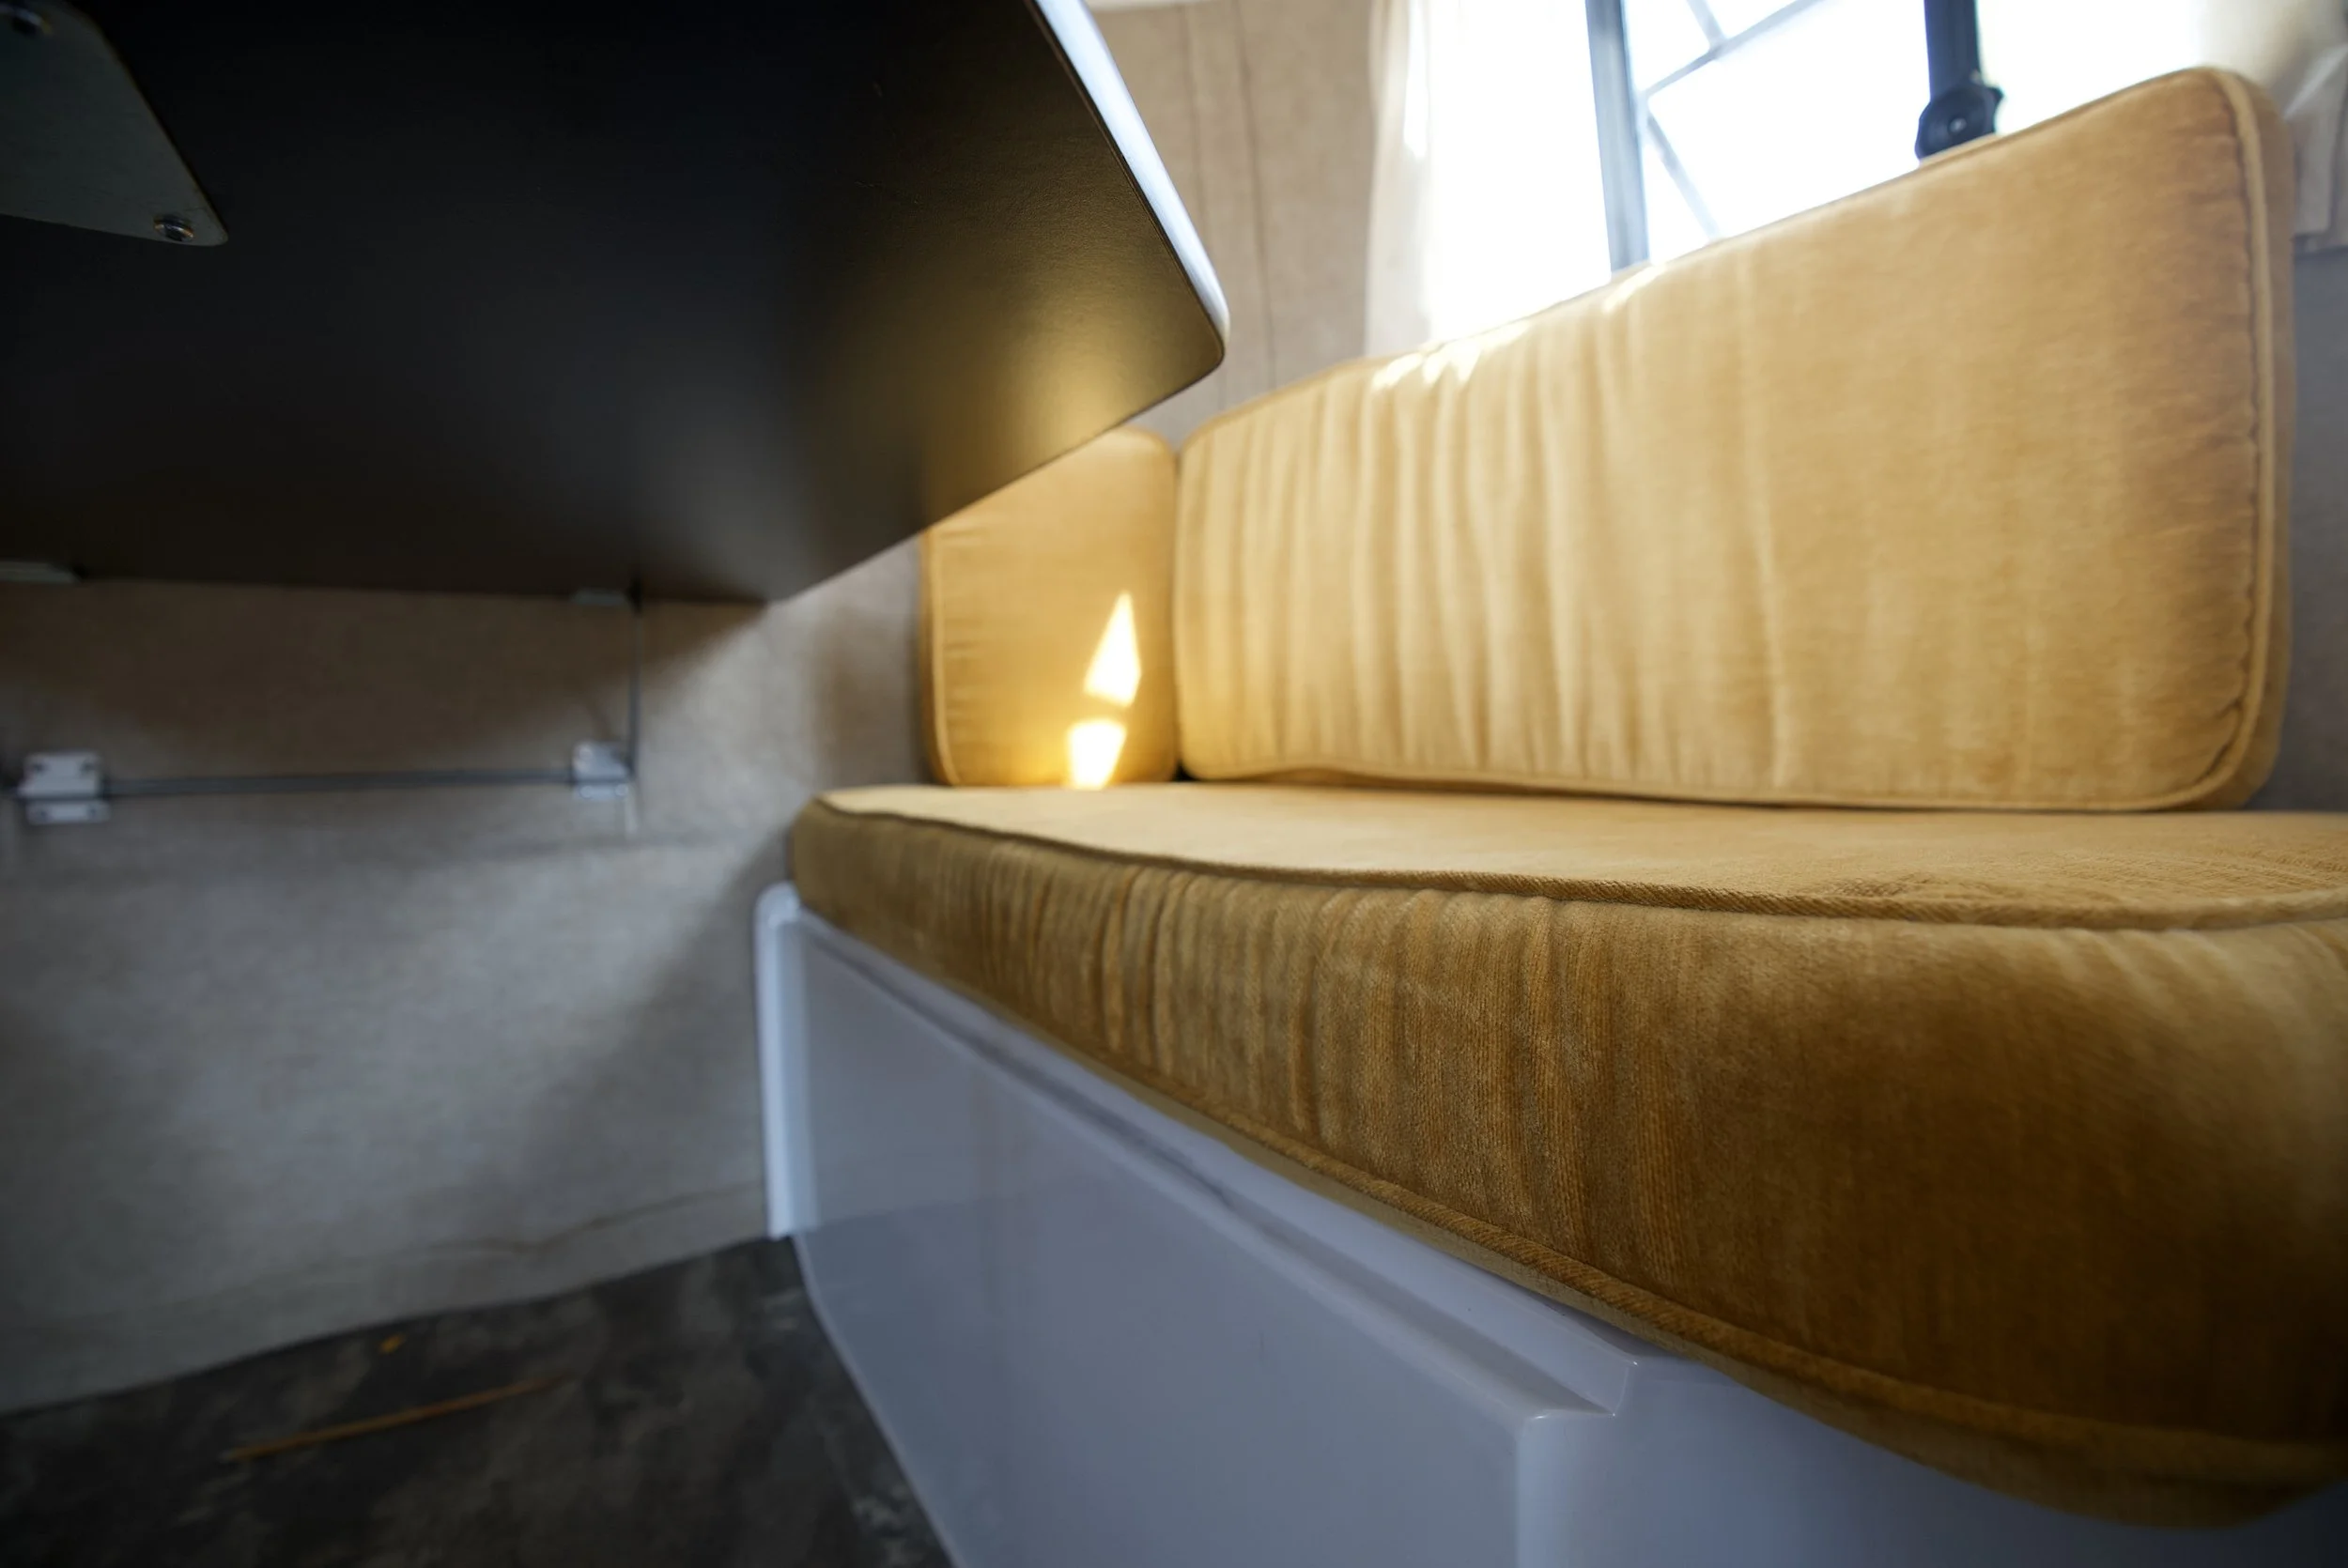
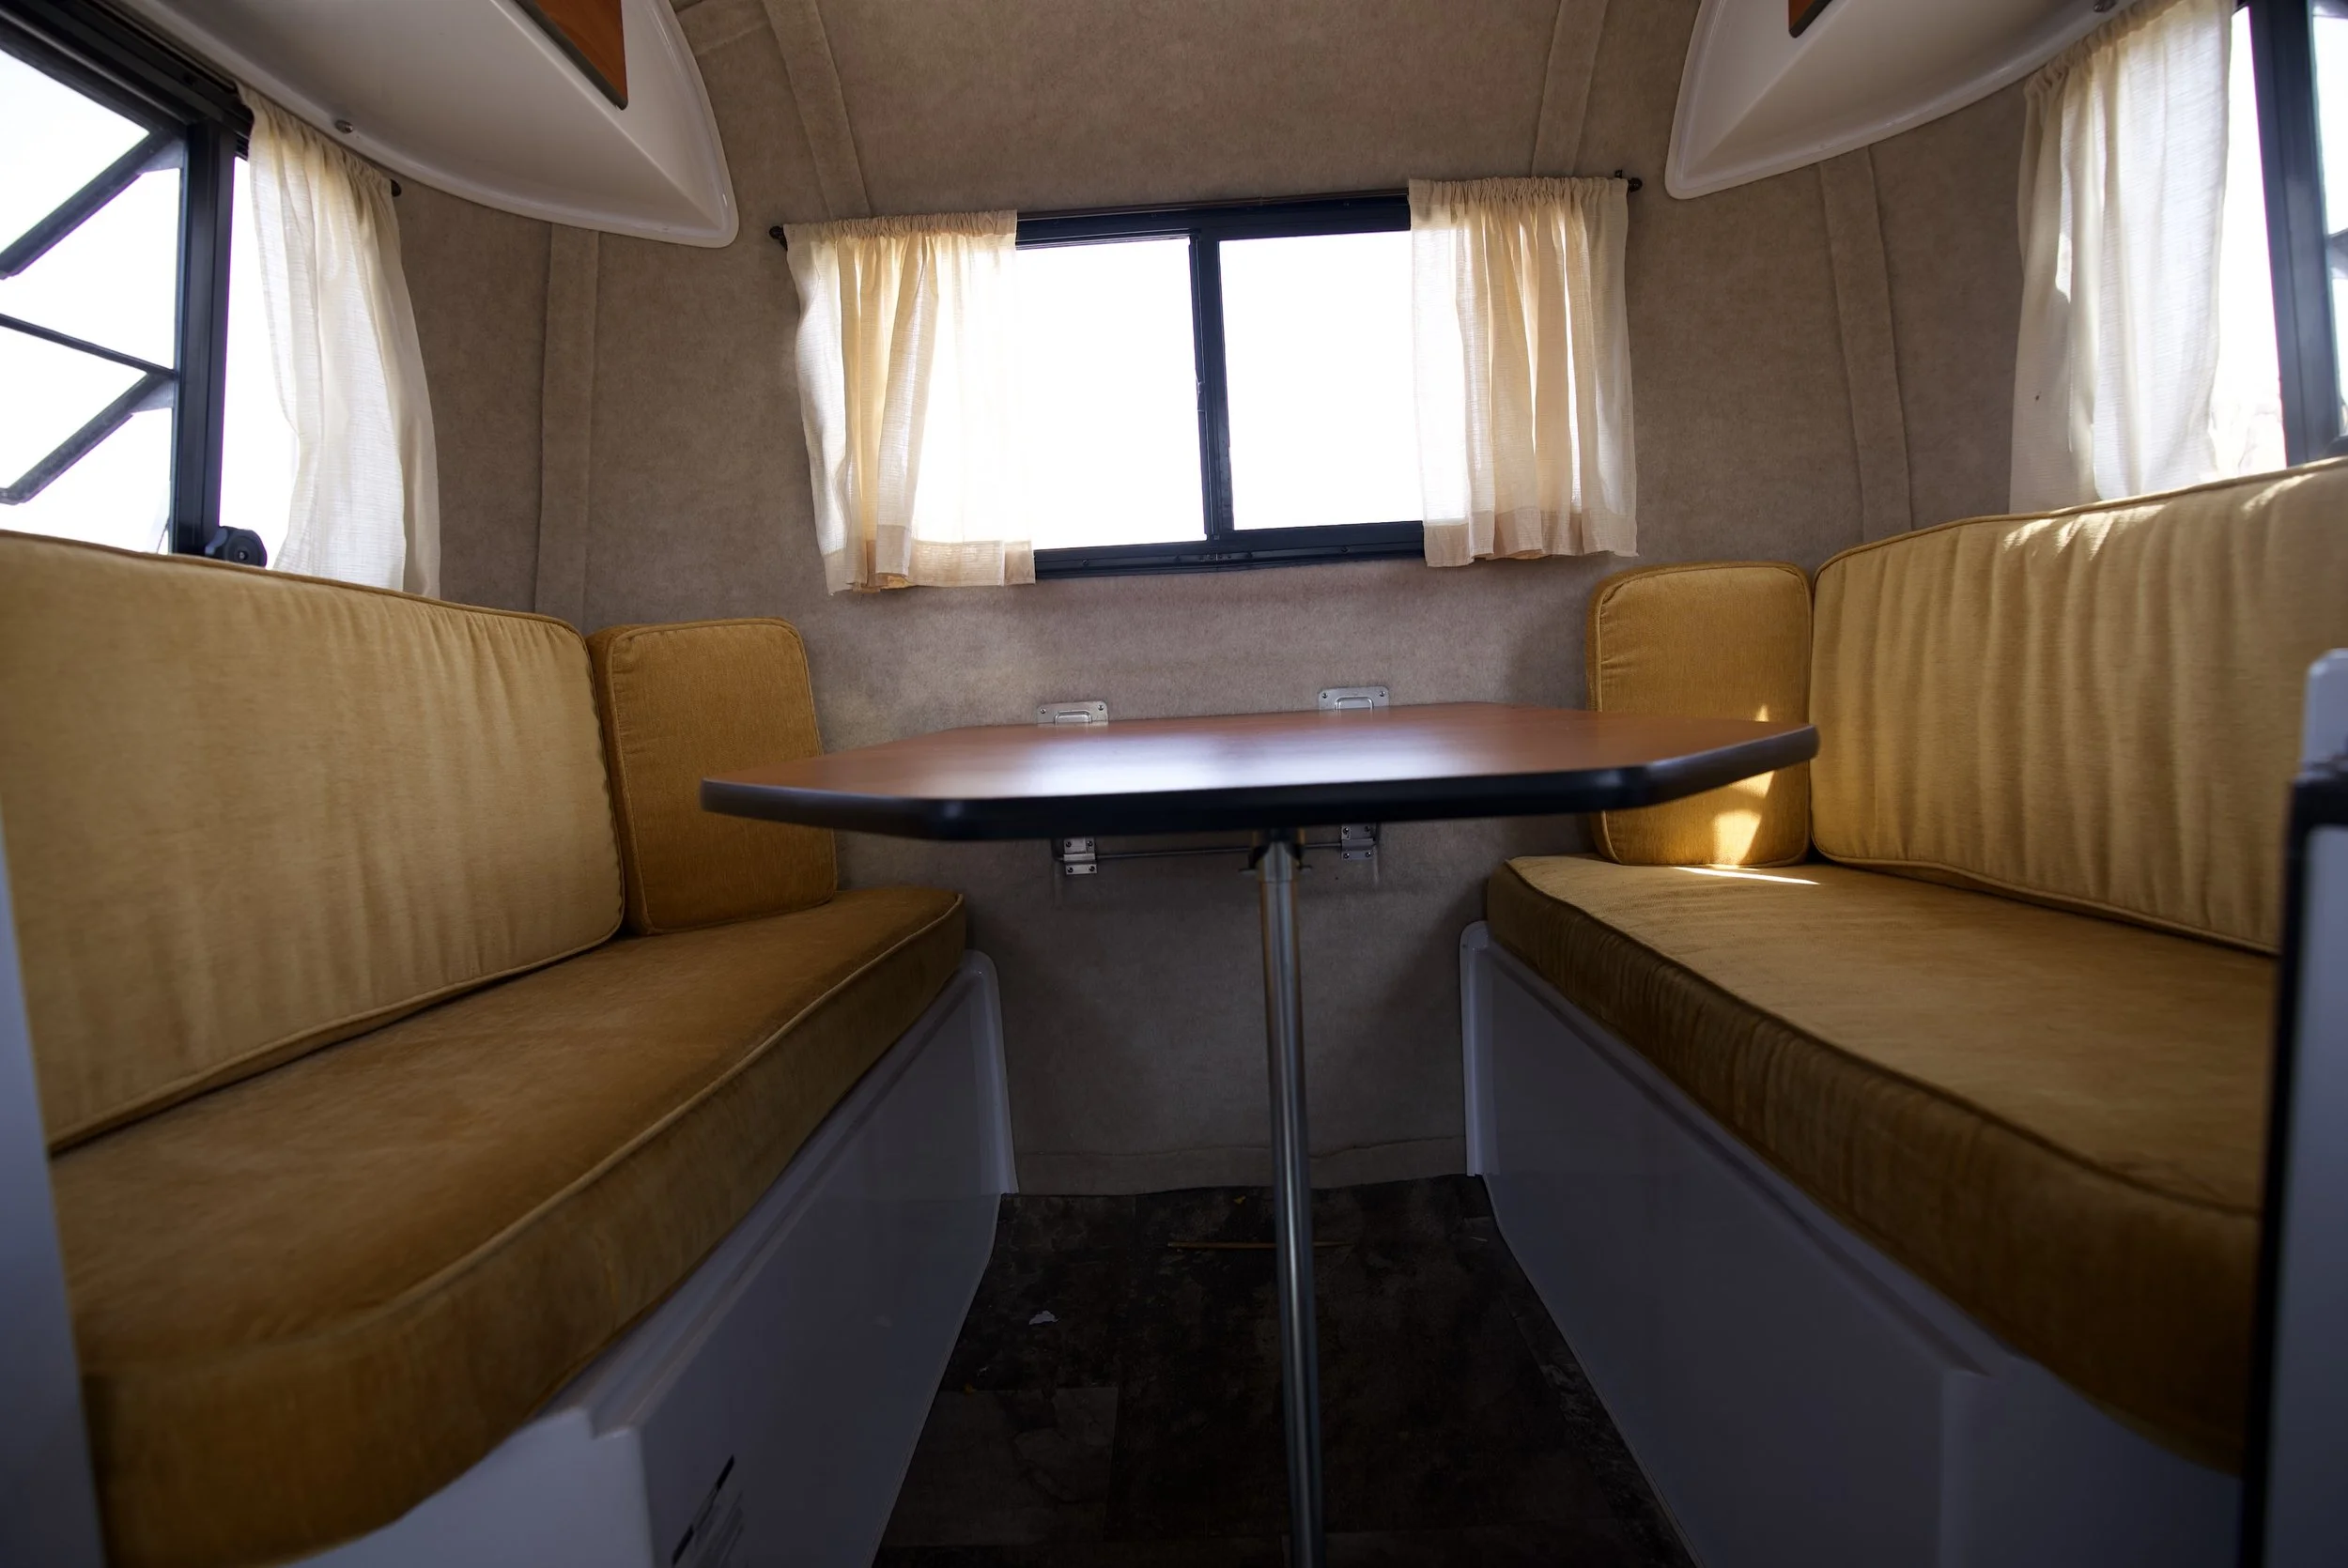
And 3 weeks later, here’s the final result. We love them!
Key Takeaways
Cost Savings: DIY-ing the materials and hiring a seamstress saved us a bundle compared to professional upholstery shop quotes. The detailed budget with links of where I purchased materials can be found here. The total came out to $1,220.67 and I couldn’t be happier with the result.
Custom Comfort: The foam sandwich design transformed our trailer’s seating and sleeping experience without compromising any storage space. They are much more comfortable now, I want to mention they are on the firmer side so you feel supported while sitting. Which might be too firm while sleeping for some people.
Satisfaction: It’s really stepped up our camping experience and they are super cute. Camping is messy and we have 2 small kids so I’m thrilled they are washable.
Final Thoughts
If you’re dealing with uncomfortable cushions in your Scamp or any RV, don’t hesitate to do this upgrade. Whether you choose to sew your own covers or work with a talented seamstress like Luci, the project is both rewarding and cost-effective. Plus, there’s nothing quite like enjoying a good night sleep while scamping.
Feel free to share your own cushion projects or ask questions in the comments below. Happy camping!
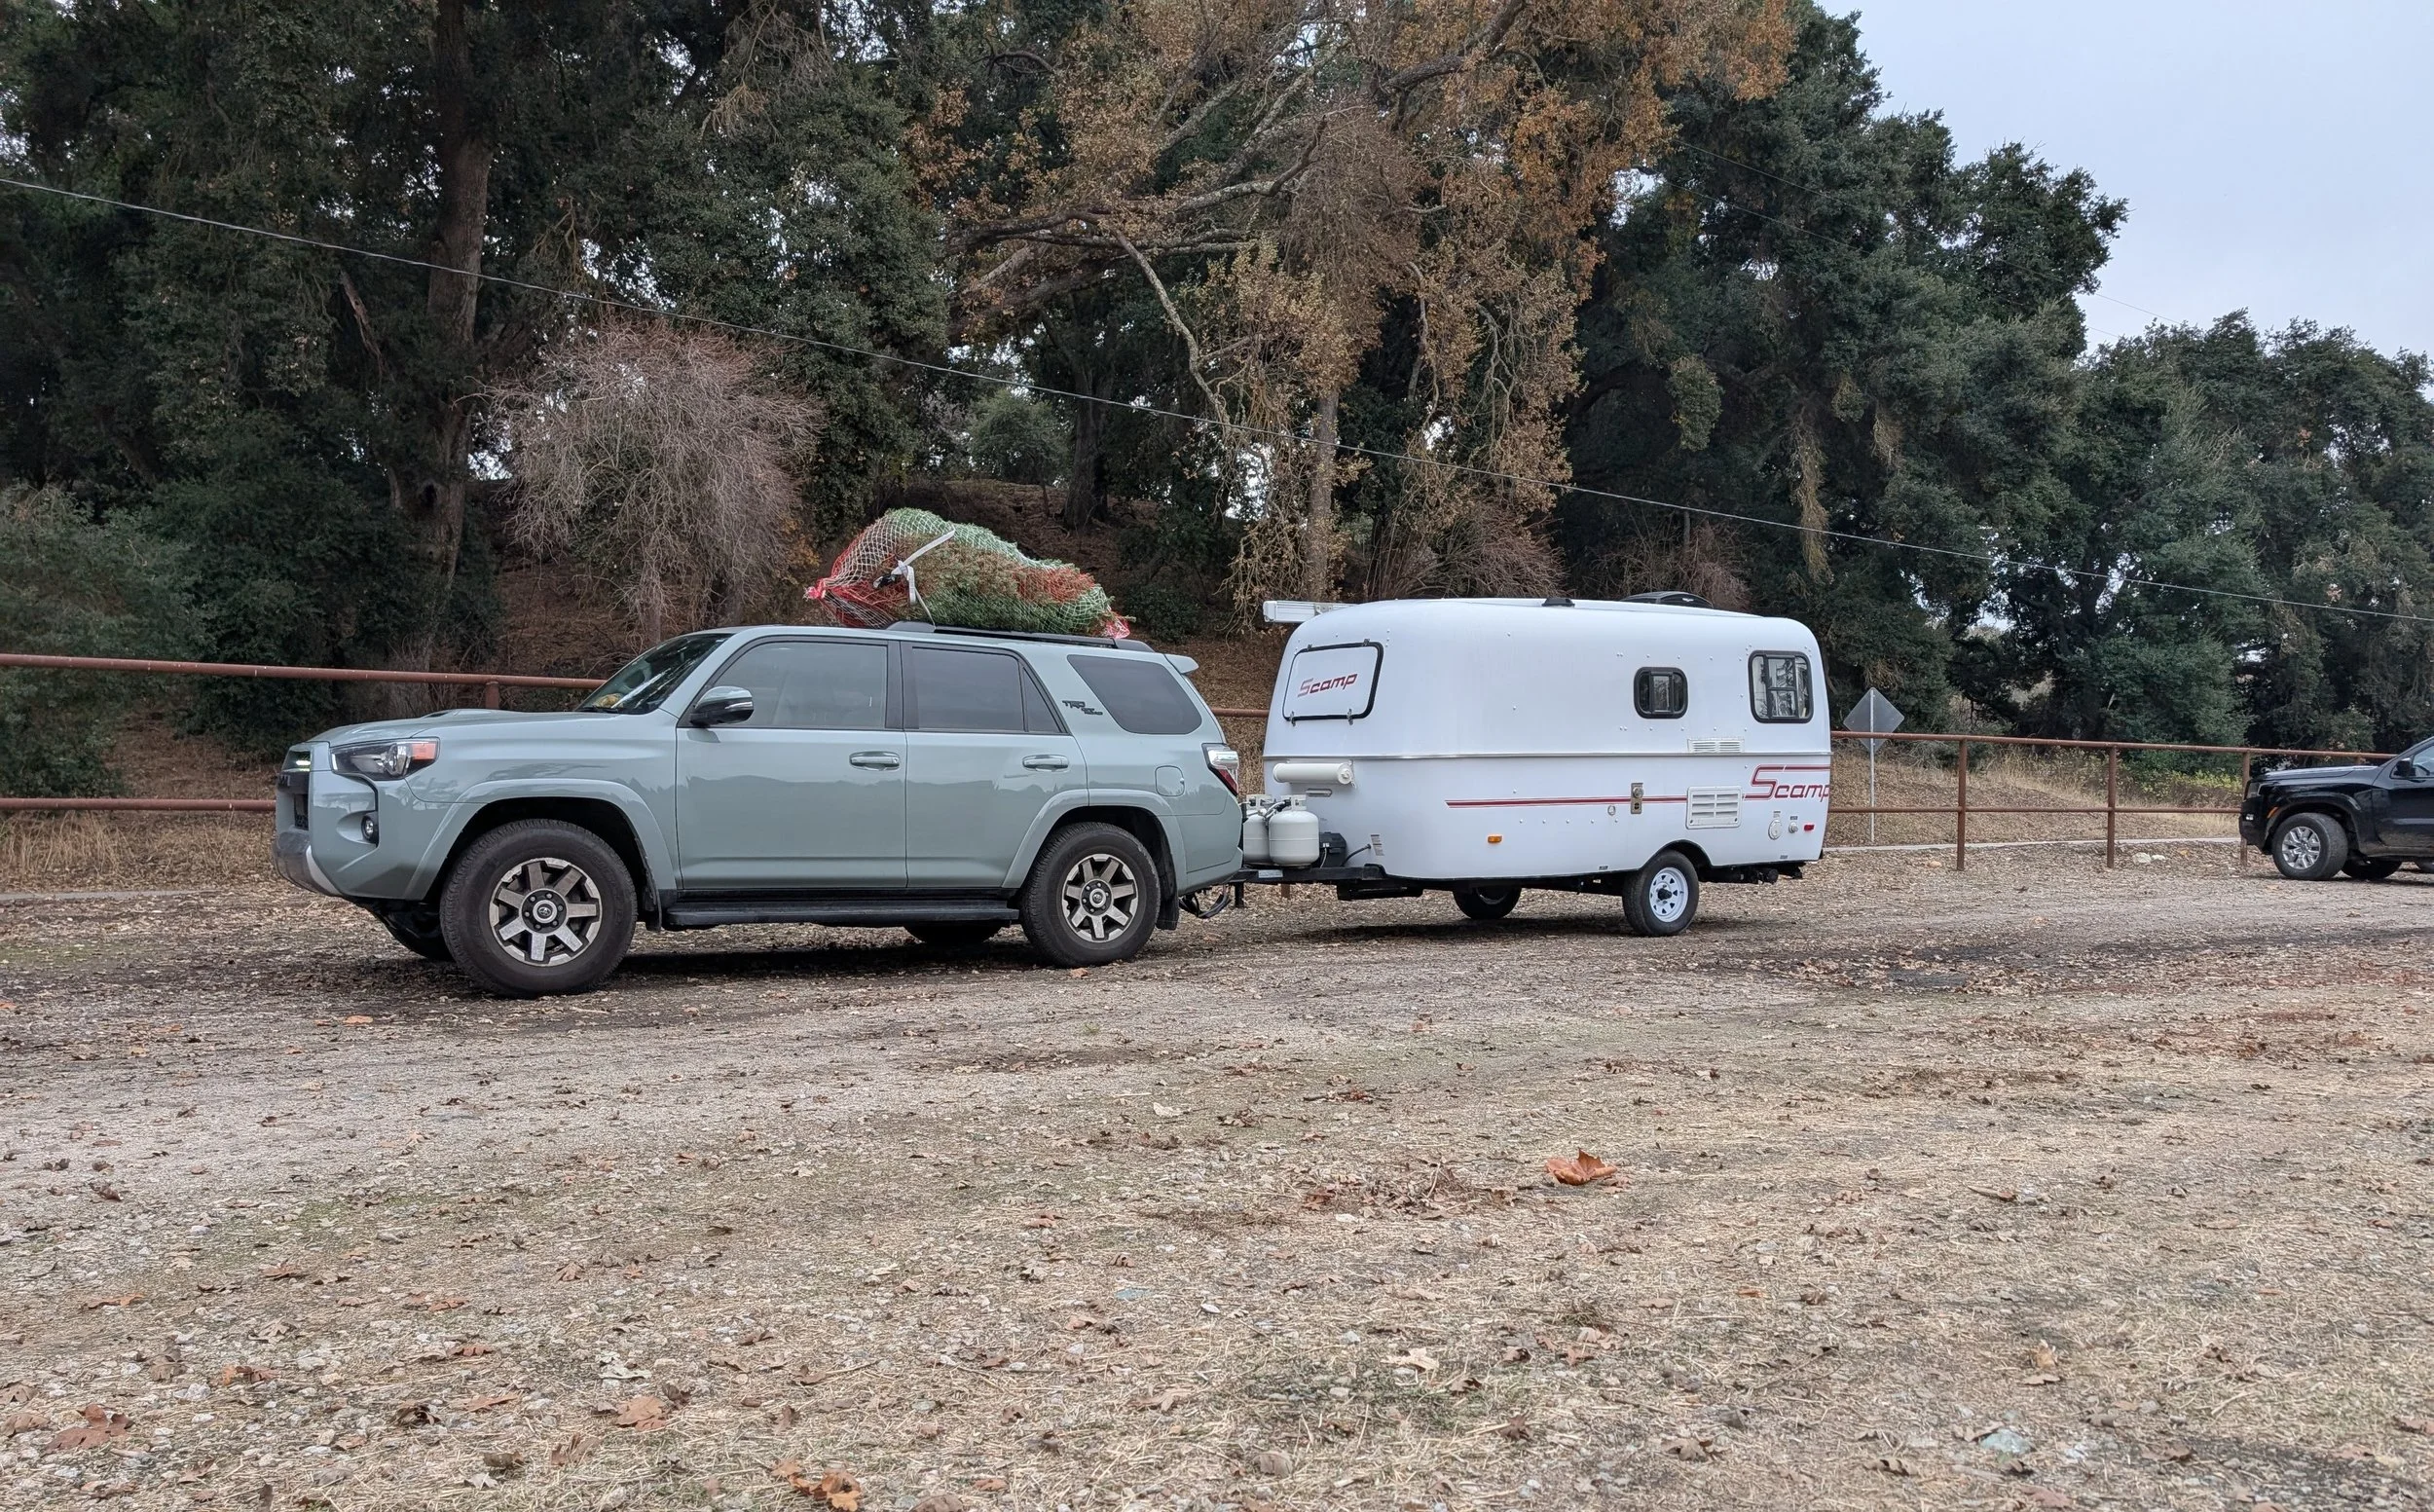
Our trip to Salinas River Ranch Christmas Tree Farm